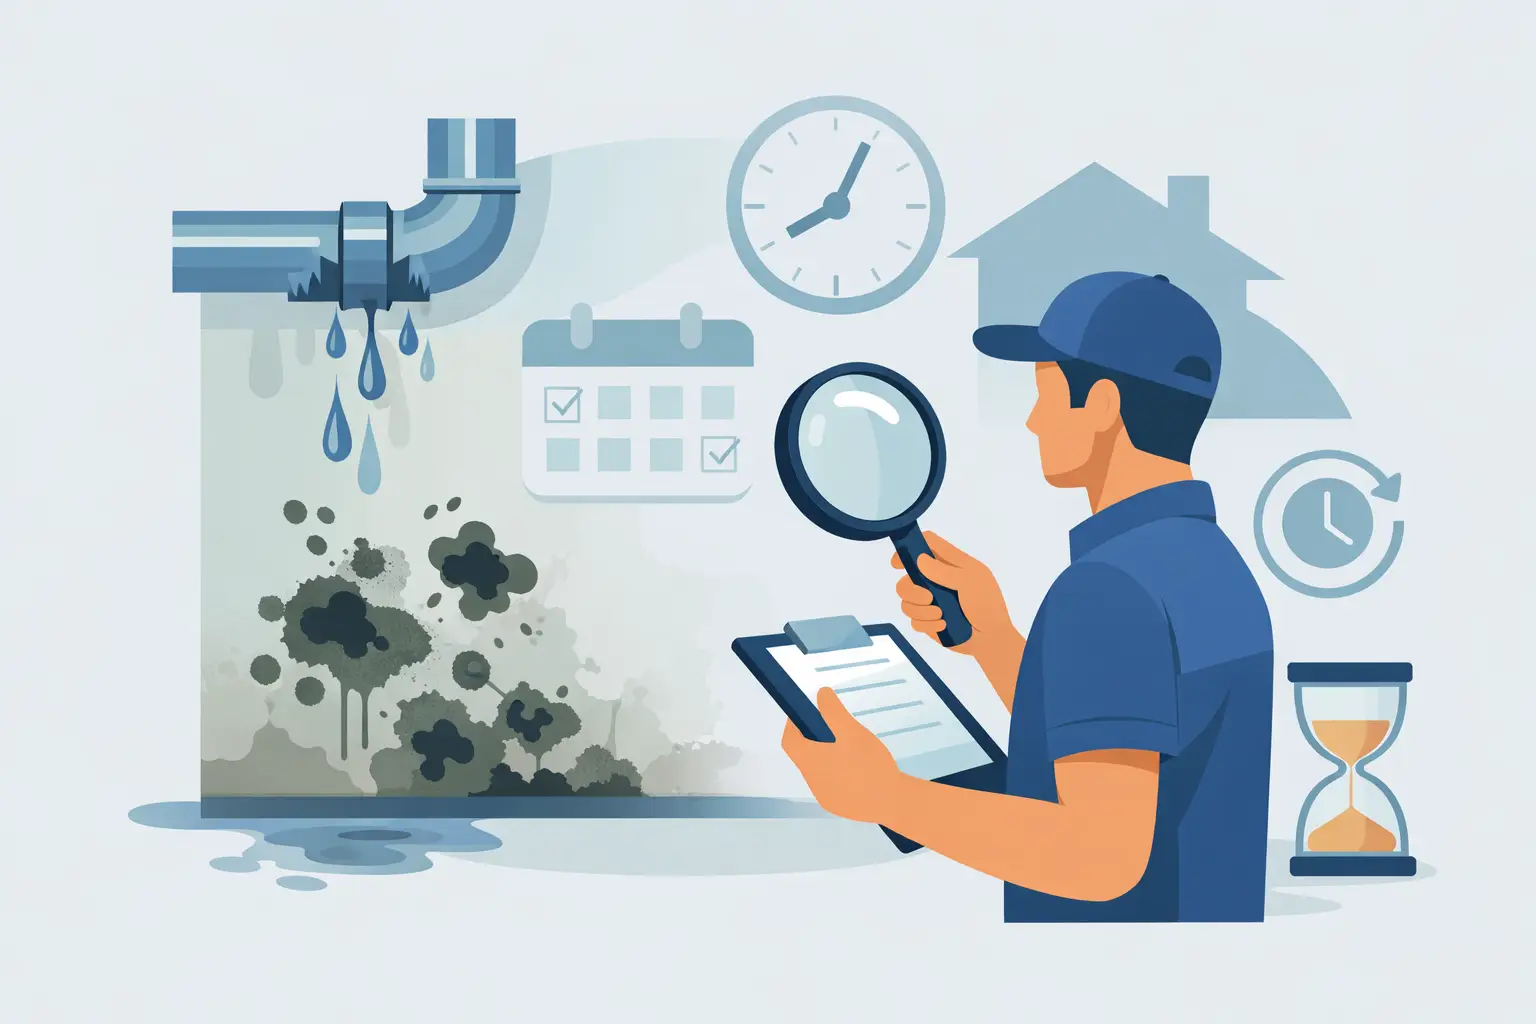
A pipe can leak for days behind a wall or only minutes beneath a sink, yet either event can leave moisture where it cannot be seen. A mold inspection after a pipe leak helps answer the questions that matter before repairs cover the evidence: Was the area fully dried? Did water reach concealed materials? Is there mold growth, and what work is actually warranted?
The right response is not automatically demolition, testing, or a full remediation project. It depends on the source, how long the leak was active, the materials affected, the extent of water migration, and whether drying was completed promptly. An independent assessment provides facts that property owners, contractors, and insurance professionals can use to make proportionate decisions.
Why a pipe leak can create hidden mold conditions
Mold needs moisture, a food source, and time. Common building materials such as drywall paper, wood framing, insulation facing, carpet backing, and dust can provide suitable surfaces when they remain damp. Under favorable conditions, mold growth may begin within roughly 24 to 48 hours, although visible growth often takes longer to appear.
The challenge with plumbing leaks is that water rarely stays at the point of failure. A leak under a bathroom vanity may wick into drywall, travel beneath flooring, or affect an adjacent closet. A slow leak in a wall cavity may dampen insulation and framing while the painted surface looks normal. Even after the plumbing is repaired, the building materials may still hold enough moisture to support microbial growth.
Musty odors, staining, peeling paint, warped baseboards, and visible growth are useful clues, but their absence does not prove the area is dry. The purpose of an assessment is to investigate conditions, not to assume the extent of a problem from one visible symptom.
When to schedule a mold inspection after a pipe leak
An inspection is especially appropriate when the leak was concealed, the duration is unknown, or materials were wet for more than a day or two. It is also prudent when there is a persistent odor, visible discoloration, swelling drywall, recurring moisture, or a concern that previous cleanup was incomplete.
For a small, immediately discovered supply-line leak on a hard, nonporous surface, the needed response may be straightforward: stop the leak, remove the water, dry the area, and confirm that no moisture remains. A broad mold assessment may not be necessary in every minor event.
The situation changes when water has entered porous or enclosed materials. Drywall, insulation, cabinetry, flooring assemblies, and wall cavities deserve closer attention because they can retain moisture beyond the reach of household fans. A professional inspection can be valuable before reconstruction, particularly when an insurance claim, real estate transaction, tenant concern, or contractor dispute requires clear documentation.
Do not wait for visible mold
Waiting for visible growth can make a manageable water event more complicated. The immediate priority is to stop the water source and begin drying. If hidden moisture is suspected, an assessment during or soon after the drying process can establish the affected area and help determine whether materials can be dried in place or should be removed.
If repairs have already been completed, an inspection can still be useful when odors, staining, or indoor environmental concerns remain. However, finished surfaces can limit access to evidence. Early documentation is often more informative and can reduce unnecessary reconstruction later.
What an independent inspection should evaluate
A quality mold assessment is more than a visual walkthrough and a single air sample. The investigation should begin with the building history: where the pipe leaked, when it was discovered, whether water was shut off, what materials were wet, what drying equipment was used, and whether the problem has occurred before.
The assessor then evaluates the affected area and nearby spaces for moisture pathways and physical evidence. This may include moisture mapping of walls, floors, ceilings, cabinetry, and trim. Thermal imaging can help identify temperature differences consistent with possible moisture, though a thermal image alone does not confirm water or mold. Moisture meter readings and targeted visual evaluation provide the confirmation needed to interpret those patterns.
In certain situations, psychrometric measurements can help evaluate drying conditions by looking at temperature, humidity, and moisture behavior in the air. These building science methods are useful because successful drying is not simply a matter of running equipment. It requires bringing affected materials back to an acceptable moisture condition and controlling the environment that allows moisture to linger.
Is mold testing always needed?
No. Testing should answer a specific question, not serve as a substitute for a thorough inspection. When visible mold growth is present, or when moisture damage clearly supports mold growth, the primary issue is often the source, the affected materials, and the scope of corrective work.
Air or surface sampling may be appropriate when growth is suspected but not readily visible, when documentation is needed for a claim or transaction, when comparing conditions in an affected area to an outdoor or unaffected reference area, or when laboratory support would clarify the assessment. Sampling has limitations. A normal air result on one day does not prove that a building has never had mold, and a laboratory result must be interpreted alongside moisture findings, visual conditions, and building history.
An independent Mold Assessment Consultant can recommend testing when it adds value, rather than treating it as a default add-on.
What happens if mold or moisture is found
The first corrective step is always to address the moisture source. A repaired pipe is essential, but it may not resolve the conditions created by the leak. Wet materials must be dried effectively, and materials that cannot be adequately cleaned or dried may need removal.
The proper scope depends on what was affected. Limited growth on a small accessible area calls for a different approach than extensive contamination in a wall cavity, beneath flooring, or across multiple rooms. The goal is not to remove more material than necessary. It is to identify the full affected area, prevent cross-contamination during work, and return the space to a normal condition.
When remediation is warranted, a written remediation protocol can provide clear project boundaries. It may describe containment, engineering controls, removal methods, cleaning requirements, drying verification, and criteria for completion. This gives property owners a practical document for obtaining comparable contractor proposals and helps contractors understand the expected scope.
Because Hurtler Environmental does not perform mold removal, its findings and protocols are based on the observed conditions rather than a financial interest in the remediation work. That separation can be particularly helpful when multiple parties need objective documentation.
Why drying records and documentation matter
Photographs, plumber invoices, moisture readings, drying logs, material inventories, and communication records can become important well after the visible repair is complete. They support insurance discussions, contractor coordination, property management records, and future disclosure questions.
Documentation also creates a clearer timeline. A water event that was discovered and dried promptly may require limited repairs. A leak that appears to have been ongoing for months requires a different level of investigation. The facts should guide the scope, not assumptions about what happened behind a wall.
For commercial properties and multifamily buildings, documentation is especially useful because water can affect suites, units, corridors, or common building systems beyond the original point of loss. A defined assessment helps owners and managers communicate decisions consistently and prioritize repairs based on evidence.
Verify the work before closing the wall
Once remediation or removal has been performed, independent Post-Remediation Verification, or PRV, provides a final checkpoint before reconstruction. The verification process typically evaluates whether the scope was completed, whether visible dust or debris remains, whether moisture conditions are acceptable, and whether containment and cleaning goals were met. Sampling may be included when appropriate to the project and verification plan.
PRV is not a promise that a building will never develop mold in the future. It is an objective evaluation of whether the completed work has addressed the documented conditions and meets the established clearance criteria. Having that confirmation before new drywall, flooring, or cabinetry is installed can prevent costly rework.
A pipe leak does not always become a mold problem, but uncertainty should not be managed with guesswork. Address the water source quickly, preserve useful documentation, and evaluate concealed materials when the event, the building, or the evidence calls for it. Clear findings allow the next step to be as limited or as comprehensive as the property truly needs.